To repair moth holes in clothing, gather fabric glue, matching thread, a needle, patching material, scissors, and an iron. First, inspect the damage and trim loose threads. Cut a matching patch, then choose between a no-sew method using a fusible bonding web or sewing by hand/machine.
For the no-sew method, apply the bonding web between the patch and garment, iron to activate, and let it cool.
For sewing, position the patch, sew around the edges, knot the thread, and trim excess. Reinforce weak fabric if needed and press the patched area with an iron. Follow garment care instructions to prevent future damage.
How to choose the right patch material for moth hole repair?
Selecting the ideal patch material is crucial when tackling moth hole repair, as it determines the longevity and effectiveness of your restoration.
Fabric Glue or Fusible Bonding Web
Fabric glue or fusible bonding web is essential for the no-sew method of repairing moth holes.
Furthermore, fabric glue typically comes in a bottle with an applicator, while fusible bonding web is a thin, adhesive sheet that bonds two pieces of fabric together when heated.
Matching Thread and Needle
Matching thread is crucial for sewing repairs, as it ensures a seamless look. The choice of needle depends on the fabric type and thickness. For delicate fabrics, use a fine needle; for thicker fabrics, choose a heavy-duty needle.
Patching Material
The patching material is a piece of fabric that matches the color and texture of your damaged garment. It should be of similar weight and weave to ensure a uniform appearance after the repair.
Scissors
Good-quality scissors are necessary for cutting both the moth hole’s loose threads and the patch material. Sharp scissors make precise cuts and help achieve a neat repair.
Iron and Ironing Board
An iron is required for both the no-sew and sewing methods. The ironing board provides a stable surface for pressing and setting the patch or adhesive.
How to assess moth hole damage extent?
Accurately assessing the extent of moth hole damage is the crucial first step in devising an effective and efficient repair strategy for your cherished textiles.
Examination of Moth Hole Extent
Carefully examine the garment to identify all the moth holes. Note the size, shape, and location of each hole to plan your repair strategy.
Moreover, assess whether any holes are too extensive for a DIY repair and may require professional help.
Trimming Loose Threads
Before repairing the moth holes, trim any loose or frayed threads around the damaged area. This step ensures that the repair will be neater and prevents further unraveling of the fabric.
Cutting a Matching Patch for the Repair
Select a piece of patch material that closely matches the color and texture of your garment.
The patch should be large enough to fully cover the moth hole, with a small overlap on all sides for secure attachment.
In addition, use sharp scissors to cut the patch material to the desired size and shape.
Ensure that the edges of the patch are clean and straight, as this contributes to a seamless repair.
What’s the step-by-step for moth hole repair?
Mastering the step-by-step process for moth hole repair is key to revitalizing your garments.
No-Sew Method using Fusible Bonding Web
Placement of Patch Material: Begin by positioning the patch material over the moth hole on the inside of the garment. Ensure that the patch fully covers the hole with a slight overlap on all sides.
Furthermore, this placement ensures that the patch will effectively conceal the damage from the outside.
Application of Fusible Bonding Web between Patch and Garment: Cut a piece of fusible bonding web to match the size and shape of the patch. Place the bonding web between the patch and the garment, with the adhesive side facing the fabric.
In addition, the bonding web acts as an intermediary layer that will bond the patch to the garment when heated.
Activating Adhesive with an Iron: Heat an iron to the appropriate temperature as specified on the fusible bonding web’s packaging. Typically, a low to medium heat setting is suitable for most fabrics.
Furthermore, place a clean pressing cloth or a piece of parchment paper over the patch and bonding web to protect the iron and fabric.
Gently press the iron over the pressing cloth/parchment paper, concentrating on the patch area.
Apply even pressure and hold the iron in place for the recommended duration specified on the bonding web’s packaging. This typically takes a few seconds.
In addition, the heat activates the adhesive, bonding the patch material to the garment.
Allowing the Patch to Cool and Set: After bonding, carefully remove the pressing cloth/parchment paper and allow the patched area to cool completely.
Do not disturb or stretch the fabric during this cooling period, as it may affect the bond’s strength.
Once cooled, the patch should be securely attached to the garment, concealing the moth hole effectively.
Sewing Method
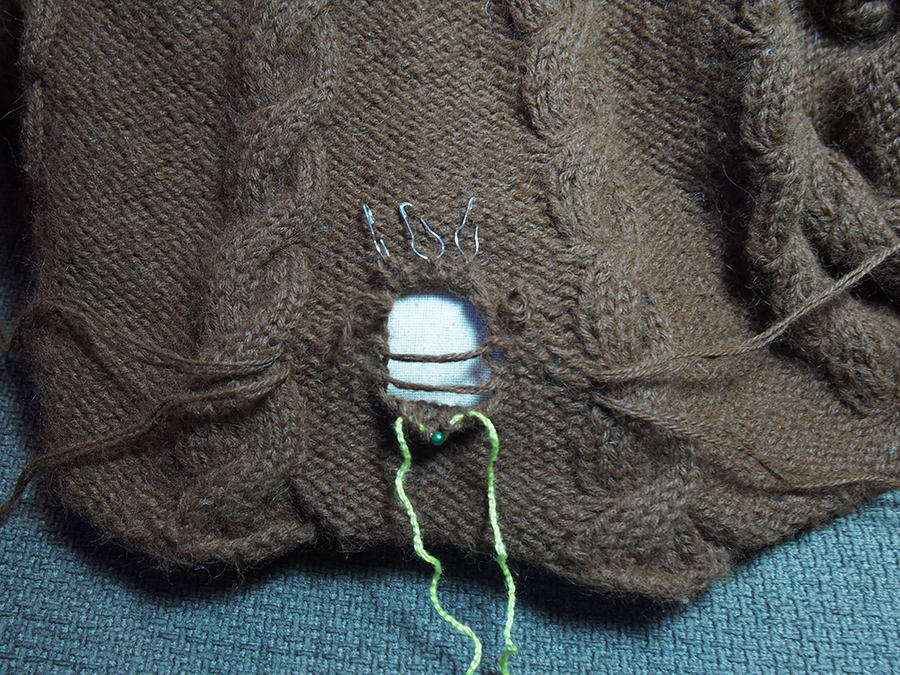
Positioning the Patch over the Moth Hole: Place the patch material over the moth hole on the inside of the garment, just as you would for the no-sew method.
Moreover, ensure the patch covers the hole entirely and overlaps the surrounding fabric slightly.
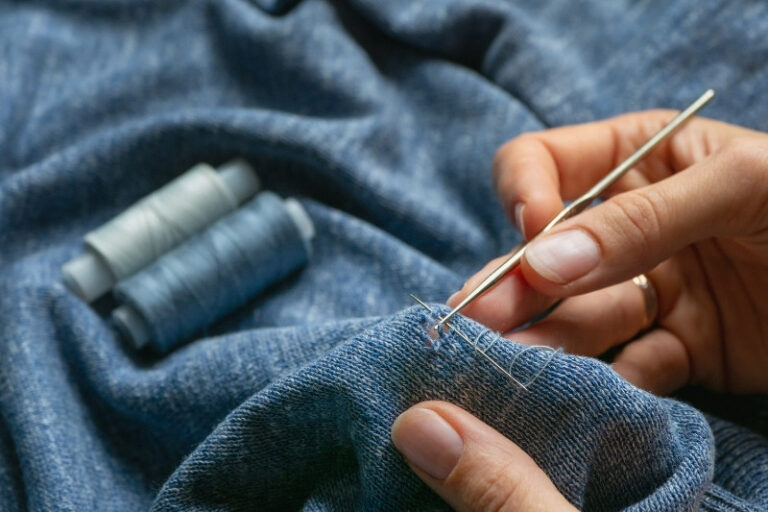
Hand-Sewing or Machine-Sewing around the Edges: Thread a needle with matching thread or set up your sewing machine with the appropriate thread.
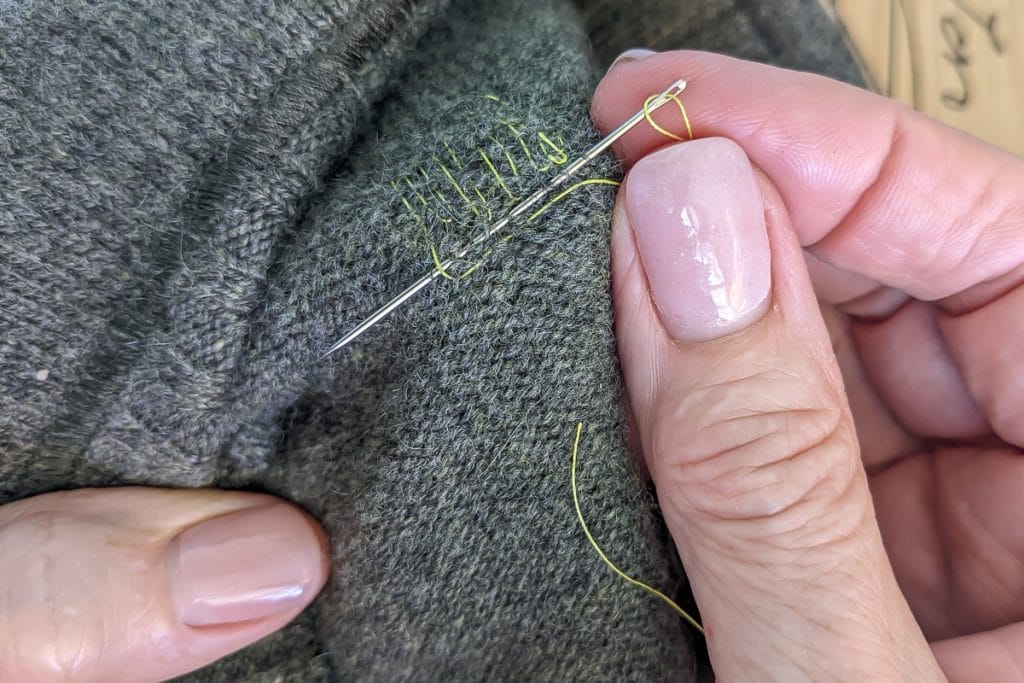
Start sewing from one edge of the patch, using a running stitch or whipstitch (both are suitable for securing patches).
Carefully sew along the edges of the patch, catching both the patch and the garment fabric.
Maintain even and small stitches for a neat appearance.
Continue stitching around the entire perimeter of the patch until it is securely attached to the garment.
For sewing machines, follow a straight stitch or zigzag stitch pattern as needed.
Knotting the Thread Securely and Trimming Excess :
When you reach the end of your stitching, knot the thread securely to prevent unraveling.
Trim any excess thread close to the knot for a tidy finish.
In addition, ensure that there are no loose threads or excess fabric that could snag or cause discomfort when wearing the garment.
How to reinforce repaired moth holes for durability?
Ensuring the long-lasting durability of repaired moth holes involves effective reinforcement techniques that safeguard your garments from future damage.
Stitching or Adding Fabric Stabilizer around Weak Fabric Areas :
In some cases, especially with delicate or heavily damaged fabrics, you may want to reinforce the repaired area to ensure long-lasting durability.
Stitching: You can add additional stitching around the perimeter of the patched area, a short distance away from the patch edge. This extra stitching helps distribute stress and prevents the patch from lifting.
Fabric Stabilizer: Alternatively, you can reinforce the garment by adding a layer of fabric stabilizer on the inside. Cut a piece of stabilizer slightly larger than the patched area and place it over the patch on the inside of the garment before proceeding with the repair method (either sewing or using fusible bonding web). This stabilizer provides added strength and support to the repaired area.
How to properly finish moth hole repairs for a seamless look?
Achieving a seamless and polished appearance in moth hole repairs involves mastering the art of finishing techniques, leaving your garments looking flawless and renewed.
Pressing the Patched Area with an Iron on Low Heat
After you have completed the repair, it’s essential to press the patched area with an iron.
Set the iron to a low heat setting suitable for the fabric type, as high heat can damage delicate fabrics or the adhesive in fusible bonding web.
Place a clean pressing cloth or parchment paper over the patched area to protect both the fabric and the iron.
Gently press the iron over the pressing cloth, focusing on the patched section. Apply even pressure to ensure the patch adheres firmly to the garment.
Ironing helps set the patch, removes any wrinkles, and ensures a smooth, seamless appearance.
Using a Pressing Cloth if Necessary to Protect Delicate Fabrics
Delicate fabrics, such as silk or satin, can be sensitive to direct heat. To protect them during the pressing process:
Choose a pressing cloth made of a fabric like muslin or cotton. It should be clean and free of any lint or debris. Place the pressing cloth over the patched area before ironing.
Iron through the pressing cloth at the appropriate heat setting for the delicate fabric. The pressing cloth acts as a barrier, preventing direct contact between the iron and the fabric while still allowing the heat to set the patch.
FAQ’s
How do you fix moths?
You cannot fix moths themselves; they are insects. However, you can address issues like moth damage by repairing damaged clothing.
How do you fix a hole in a sweater?
To fix a hole in a sweater, you can use techniques like darning, patching, or sewing depending on the size and fabric of the hole.
What causes moth holes in clothes?
Moth holes in clothes are typically caused by moth larvae feeding on natural fibers like wool, silk, or cashmere.
What is the best moth killer?
The best moth killer products include moth repellent sachets, cedarwood products, or mothballs, depending on your preferences and the items you want to protect.
What smell kills moths?
Moths are repelled by strong scents like cedar, lavender, or cloves, making these natural smells effective for moth prevention.
Does vinegar prevent moths?
Yes, vinegar can be used as a natural moth deterrent when mixed with other ingredients and placed in a sachet or spray. However, it’s not as effective as some other methods.
Conclusion
In conclusion, repairing moth holes in clothing is a valuable skill that can extend the lifespan of your cherished garments. Whether you opt for a no-sew method using fusible bonding web or prefer the traditional sewing approach, meticulous preparation and attention to detail are key to achieving a successful repair.
Taking the time to select the right materials, assess the damage, and execute the repair method will result in a garment that not only looks good but also remains resilient to future wear.
Additionally, the optional reinforcement techniques and the final step of pressing the patched area with care are essential for ensuring the longevity and polished appearance of your repaired clothing.
By following these steps, you can breathe new life into your wardrobe and reduce the impact of moth damage, ultimately preserving your favorite pieces for years to come.